

Building the Celtic Bio Helmet from AVP, My first attempt at modelling.
Start to finish.
Ok, this is a piece I did like 3 -4 years ago now. It's one of very few projects that I've done that I've taken photo's of through out the project and I'm glad I did. I wanted to share the processes of how I did the build and then how I went about painting and finishing the piece.
First off, I started with an Original Predator helmet from the Original film and from this I set about working over it to create the Celtic from the forthcoming AVP film at the time.
At the time, I had no experience of using clay of any kind but I was determined to own this helmet and I'd never sculpted anything either although I'd made a few scratch built items.
Anyway on with the pics and the description.
First off we see the Predator helmet here in it's raw form in Fibre glass.
You can see that I started to look at the helmet in pieces and started the build in layers of thick sturdy card which I'd made templates of the detail. I started to glue these on with Araldite after I was happy with the scale and shapes I'd drawn out and cut.

Here you can see the crude build up of how the templates started to build up and
look. At this stage I wasn't too sure how it was going to turn out but I
persevered and and later on you'll see how these templates helped me to sculpt
over the top


The red line indicates where the profile of the original helmet sits and then the rest are the details of the new parts I had to make from scratch.

This allowed me to work piece by piece and slowly fill in the bad edges and poor fitting card.


MilliPut is a two part Epoxi that can be sculpted like clay but, once its set it can be drilled, Sanded and painted. It's brilliant stuff and I use it for just about anything. Once I mix the two even parts I then apply the mix to the surface I'm sculpting and then apply warm water to help me smooth and sculpt the shapes I need on the surface. No sculpting tools were used here, Only my fingers to shape the parts and the face of this piece.
Here you can see by using the template how I got the size for the 'tusks' on the front of the Bio.
These I cut out from 6mm MDF and then using a Dremil I trimmed each one and then sanded the edges to create a smooth curve to each.


You can see from the above images that I had quite a way to go before this helmet was going to look anywhere near finished but I was determined to get the helmet accurate so I carried on. As the build continued my confidence grew in the piece as I could see it taking shape.
You can see here below that I continued to build up the MilliPut and as I went I compared the shapes I'd sculpted until I got something very close to the screen used Helmet.
I looked around many shops and hardware stores for cheap plastic parts that would help me with some of the more machine made details, The nose was one of four Yo-Yo's and I bought from a pound shop. Cut in half, they made the nose for the helmet. Perfect!


After much sanding and re shaping of the face I was happy. and then I went about creating the smaller detailed parts from the helmet starting with the small air intake pipe on the left hand side temple.


The inner cheeks have spikes and I made these from glue pot lids, I dremmiled out the lids and sunk the spikes and these were set in Milliput to hold them in place within the outer lid shape.
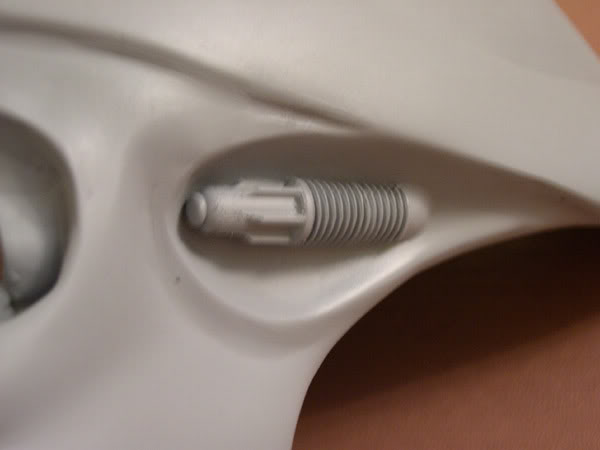
Also here below you can see the laser site housing I made the base from Milliput and then the three bars are Match sticks and the three risen caps are chopped from the end of pen lids. All very useful handy parts found from pound shops.

Once all the parts are glued in place I then used MilliPut again to sculpt and
fill in any area's that needed blending in.
I carried on this process
until I felt I was happy with the over all shape and then I decided to spray the
entire Helmet with a layer of primer.

Once the primer had dried I could then see where there were any imperfections
and so I went about using more filler and then sanding down again.
Here
you can see how all the parts turned out and each section primed up ready to be
painted.
The Helmet is now complete with the build process and so now I go about creating
the metal coat finish.
The first step is to paint the enter helmet in a
flat Satin black.

Once this is dry I then start to cover the helmet with a stippled 'ragged' on
silver enamel paint

I used an old piece of toweling and dipped this into a large tray of silver paint, I then ragged the paint 'off' the towel until there was hardy any paint. The towel is then ragged onto the surface of the helmet, I used a toweling material as it's gives a better broken up surface.
Then next stage with the silver paint was to get a tighter and more controlled weathering by 'dry' brushing the paint on with a wide household paint brush.


The smoother area's I've used the same paint but through an Airbrush so get that smooth blended in look around some of the edges.
In the background you'll see a second Bio that came out of the mold that I made from this very first helmet.


Once I was happy with the helmet The entire thing was then sprayed with a clear
coat acrylic. I then applied mirrored lenses to the Bio to give it's that dark
menacing look.


